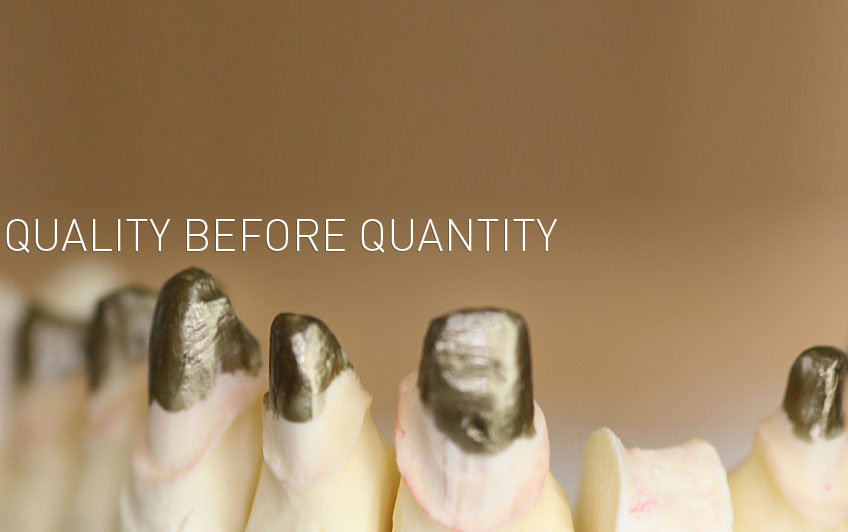
Shade Matching
Shade Matching
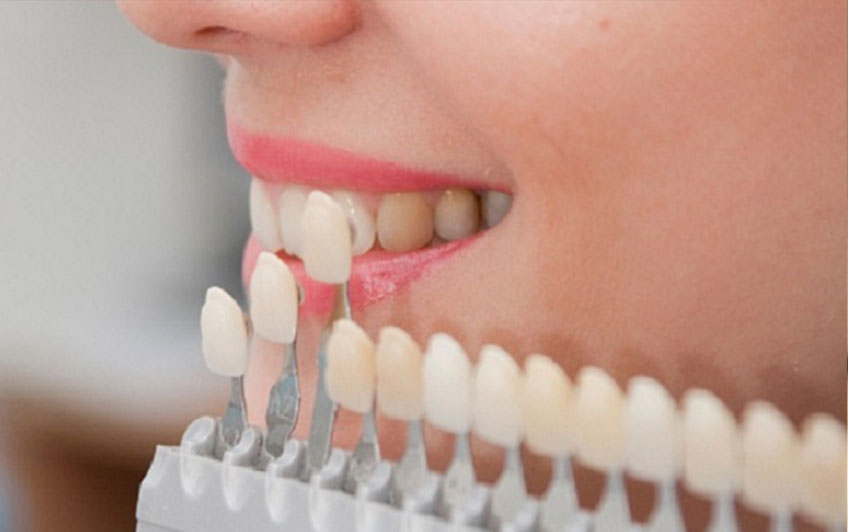
A key aspect in the ultimate success of a dental restoration, especially in the esthetic zone, lies in achieving accurate shade matching. A vital tooth is both naturally translucent and transparent, and it is crucial to understand the intrinsic difference between the human and dental porcelain for optimal results. Disimilar from a natural tooth, dental porcelain has opaque properties, thus reflecting and absorbing but not transmitting light.
There are three main areas that directly affect shade matching::
The light source, the environment and the doctor or clinician. The pure reliance on matching to a shade tab is insufficient for proper shade matching.Light Source The light source will dramatically affect shade. The operatory light should not be pointed directly at the patient.
Key aspects of ideal light for shade matching include:
Key aspects of ideal light for shade matching include: Indirect lighting with fluorescent bulbs at 5500 Kelvin color temperature Color corrected with a full visible spectra range Enough intensity to eliminate ambient light, but not so strong as to mask the color differences Pleasant to the eye in order to deter fatigue The Environment From floor to ceiling, the entire room or setting should have a neutral light gray background, not white. A patient’s lipstick, clothing, and clinical drape also can adversely affect the color perception. If needed, use a blue bib to relax your eyes. Using Photos

Key aspects of ideal light for shade matching include:
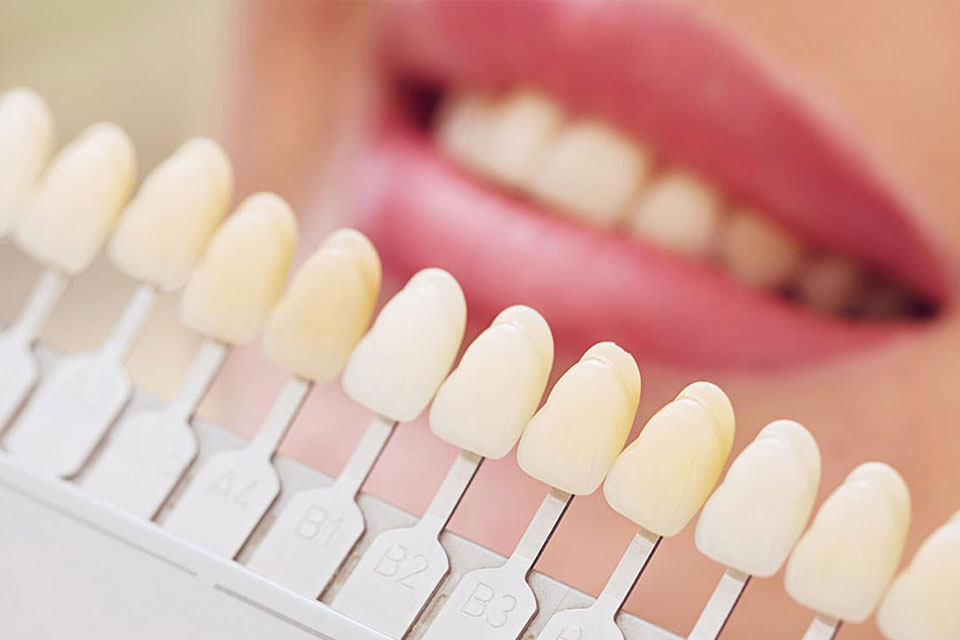
Photographs are not accurate or sufficient in color replication, but they can be useful for determining gradation and characterization. To achieve the optimal results, the following steps should be followed: Always have a shade tab in the photo so the technician can compare the difference in the Value and Chroma and make the needed adjustments. Use a camera with a macro lens and ring flash. This will allow you to get a closer and more detailed photo without having the flash alter the shade. If your camera doesn’t have a ring flash, have the patient sit up with their chin slightly tucked in. This will help keep the flash from reflecting in the picture.
Additional Tips
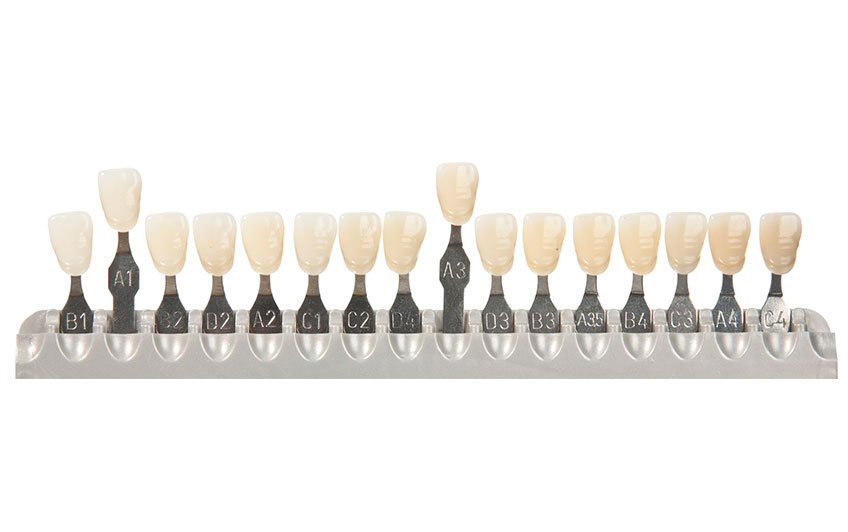
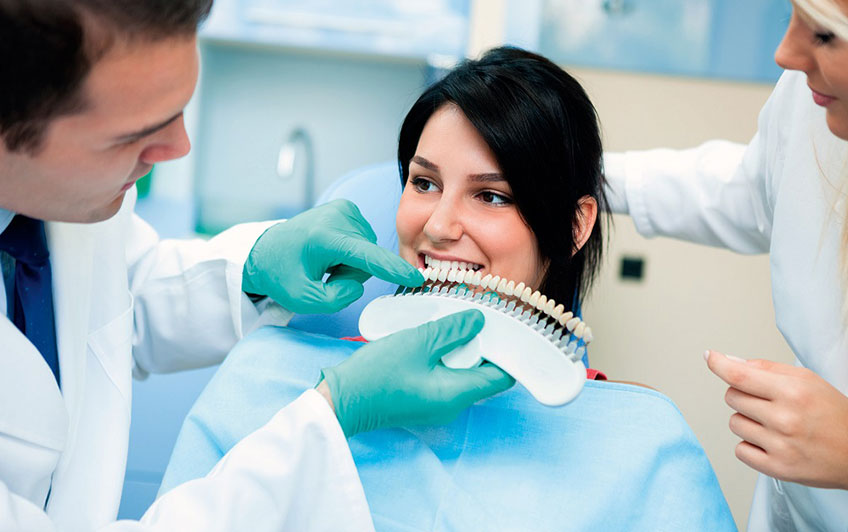
Use a room with some natural light if possible and avoid pointing any light directly toward the patient. It is important that color selection is done when the patient is first seated in the dental chair as Chroma and Value can change due to minor dehydration after the patient’s mouth has been open for a period of time. Studies show that teeth can take more than 24 hours to return to their natural state. Additionally, there is less chance for optical fatigue. The patient should be reclined at a 45% angle with the patient’s mouth level with the dentist’s eyes. Shade guide tabs should be applied parallel to the tooth, never in front or back. Diagrams should be used. A facial view of the clinical crown is used to indicate the position of the various shades, while a proximal view shows the technician how the body and enamel porcelains should be layered. The amount of reduction is the most important factor in creating esthetic restorations. 1.5mm – 2.0mm is recommended in order to have adequate porcelain thickness for proper shade matching. The 5 Second Rule – limit viewing to 5 seconds, as eye fatigue will set in. Your initial decision is usually the most accurate. Color perception Color perception varies from fractionally to drastically by individual depending on their vision. Women are far less likely (.5%) to be color blind than men (8%). All doctors and technicians should take a color vision deficiency test such as Ishihara or Farnworth Lantern annually as vision can change.
Our Recommendations
Similar Products